How to Silence Your Phone's Virtual Assistant and Preserve Your Privacy

How to Silence Your Phone’s Virtual Assistant and Preserve Your Privacy

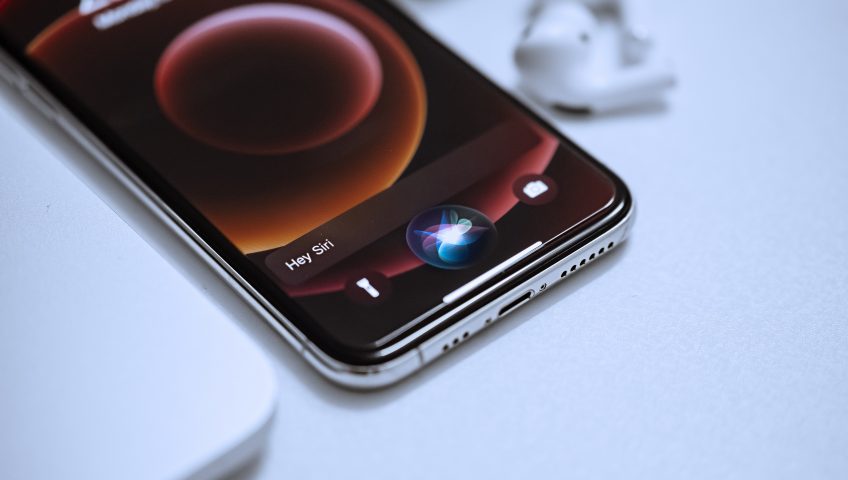
Hands up if you have a Google Home, Apple Home, Amazon Echo or similar? It’s so handy when you’re in the middle of cooking with messy hands to yell out “Hey Google, play Hill Top Hoods” or “Hey Alexa, set timer for 30min!”. I think we can all agree that virtual assistants have become an integral part of our home pods and smartphones offering convenience and ease of use.  

However, concerns about privacy and data security have also emerged. Many users are now seeking ways to tell their phone’s virtual assistant to stop listening and respect their privacy.  

In this blog post, our Geelong Technology Group team will cover some effective methods to silence your phone’s virtual assistant, empowering you to regain control over your privacy while maintaining a seamless user experience. 


Adjusting voice activation settings 

Most virtual assistants, such as Siri, Google Assistant, or Alexa, are designed to respond to voice commands. By customising your device’s voice activation settings, you can limit when the assistant actively listens. Head to your device’s settings, find the virtual assistant option, and disable the “always listening” mode. This will ensure that the assistant won’t activate until you manually summon it. 


Muting microphone access 

To prevent your virtual assistant from constantly monitoring your surroundings, consider muting the microphone. Many smartphones have a physical mute switch or button specifically designed for this purpose. By toggling it, you can easily turn off the microphone when you don’t require voice commands. 


Utilising app permissions 

Reviewing and managing app permissions is crucial for maintaining privacy. Navigate to your phone’s settings and locate the permissions section. Here, you can revoke microphone access for specific apps, including the virtual assistant. Be cautious not to disable critical functions that rely on the microphone, such as voice calls or audio recording apps. 


Customise voice feedback 

Virtual assistants often provide audio feedback to confirm they are actively listening. While this can be useful, it may also intrude on your privacy. Adjust the settings to customise the voice feedback or switch it to a silent mode. This way, your virtual assistant will still respond visually without audibly alerting others to its presence. 


Limit data collection 

Virtual assistants gather data to improve their performance, but you have control over what information is shared. Visit your virtual assistant’s settings and explore the data collection options. Disable any features that you find intrusive or unnecessary. By being mindful of the data you share, you can protect your privacy and minimise the information stored by the virtual assistant. 


Maintain your control over you virtual assistant 

Achieving a balance between the convenience of virtual assistants and preserving our privacy is essential. By following these steps, you can effectively establish control over when it listens and collects data. Remember to regularly review your device’s settings and app permissions to ensure your privacy remains intact. Taking these proactive measures empowers you to enjoy a seamless user experience while maintaining control over your personal data.  


On-site & remote IT support in Geelong 

At Geelong Technology Group, we prioritise your safety online. If you need assistance with shutting off your virtual assistant or other tech contact our friendly team on 1300 GET GTG for assistance. If you are in Geelong feel free to pop into our shop 166 Francis St, Belmont between Monday – Friday 9:00 am – 5:30 pm.  


phone

A guide to securely wiping your phone for resale or recycle

A brand-new phone is an exciting occasion. This is, after all, your new window on the world. But that doesn’t mean you should move on straight away: whether you’re planning to sell, gift, recycle, return or donate your old phone, you’ll need to ensure all of your personal data has been securely erased and the phone reset to factory conditions.

FIRST, however, ensure that all of your personal data is transferred to your new phone or backed up (or both!). Once your old phone is reset, there’s no going back, and the last thing you want is your new-phone excitement ruined by the loss of your contact details or your photos of that incredible, never-to-be-repeated holiday.

Factory resetting your Android phone 

Factory Reset Protection (FRP)

Newer Android phones have an anti-theft measure known as Factory Reset Protection (FRP). For a new user (buyer, giftee or donatee) to be able to access the phone, you’ll need to disable FRP. To do this, go to Settings > Security > Screen Lock and set it to None. It is now also a good idea to delete your Google account (and any other accounts while you’re at it): go to Settings > Accounts, then select each account in turn and Remove Account).

Encryption

If your device is relatively new, the phone’s local storage should already be automatically encrypted (meaning that even if your data is somehow recovered post-reset, it will still be virtually unreadable). If you have an older device, search for ‘encrypt’ in your settings menu to check encryption is in place – or follow the prompts to encrypt your data, if necessary. Note that encryption can be time-consuming – don’t start this if you’re waiting for a call in five minutes!

Factory Reset

Now – once you’ve removed your SIM card and any MicroSD cards – you can wipe your Android phone. Different devices may have slightly different steps, but generally, you can go to Settings > System > Advanced > Reset Options > Erase All Data (Factory Reset) > Reset Phone. (An alternative pathway may involve tapping Settings > General Management > Reset > Factory Data Reset > Reset.) And you’re done!

You can further divorce yourself from your old device by also removing your phone from your Google account by visiting Security > Your Devices > Manage Devices via your web-based Google account manager.

Factory resetting your iPhone

As with an Android phone, the first steps should be to backup your data, then unpair any devices (such as an Apple Watch) and remove your SIM card. You should also turn off ‘Find My iPhone’ (via, depending on the age of your device, either Settings > iCloud > Find My iPhone or Settings > [your name] > iCloud > Find My iPhone) and sign out of other services such as iMessage and the App Store – then sign out of iCloud completely.

Once you’re out of your accounts, you’re good to go with the iPhone factory reset. Click to Settings > General > Reset > Erase All Content and Settings and confirm the selection.

Need assistance? Talk to the Geelong IT professionals and iPhone experts

If you’re having trouble with any of the above – particularly if you’re not sure your backup has worked properly – don’t hesitate to stop by the Geelong Technology Group showroom and we can give you a hand. We’re also a Geelong Apple Authorised iPhone and Macbook repairer, meaning if it’s just a repair you need, not a whole new device – we’re your team! 

Give us a call on 1300 GET GTG (1300 438 484) or come and see us in person at 166 Francis Street, Belmont.